Onboarding Guide
Prerequisites
Section titled “Prerequisites”Each device must be configured to support:
- HTTPS (SSL) management
- REST API access
- SSH access
- A service account with sufficient permissions
Refer to the appropriate setup guide for your firmware to get started.
Adding a Device
Section titled “Adding a Device”Once the device has been prepared:
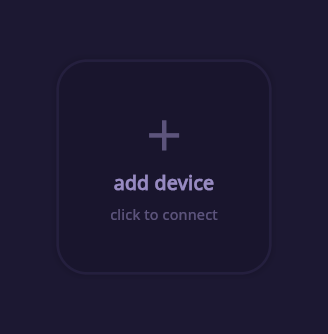
- Open the dashboard
- Click “add device”
- Fill out the required fields:
- IPv4 address
- username
- password
- type
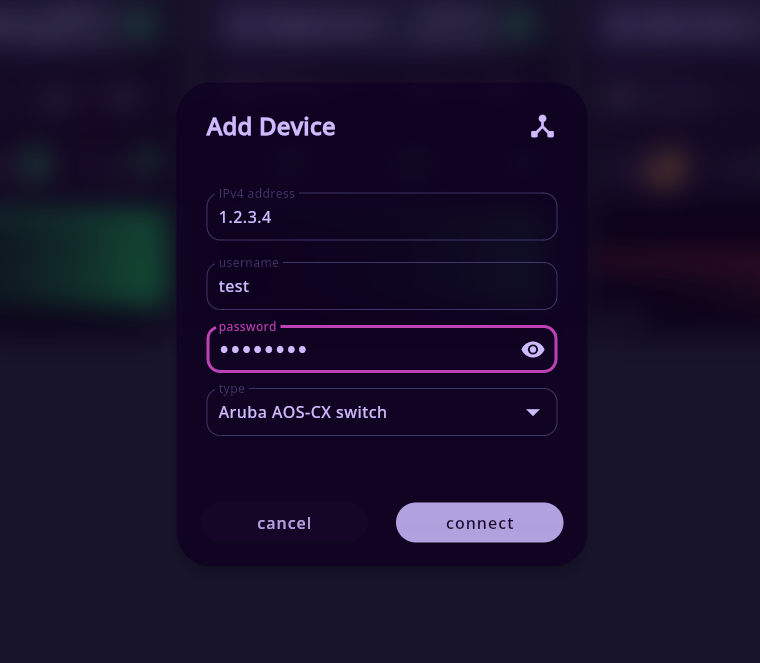
- Submit the form with “connect”
Connection Process
Section titled “Connection Process”After submission:
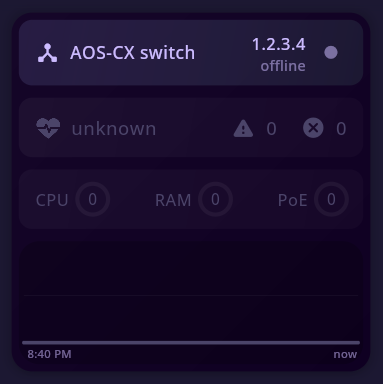
- The device will appear in the dashboard immediately
- Portweaver will begin establishing a connection in the background
During this phase:
- REST API connectivity is verified
- SSH access is initialized
- Device data is collected and cached
Once complete, the device transitions to an online state if it successfully logs in.
Removing a Device
Section titled “Removing a Device”To remove a device:
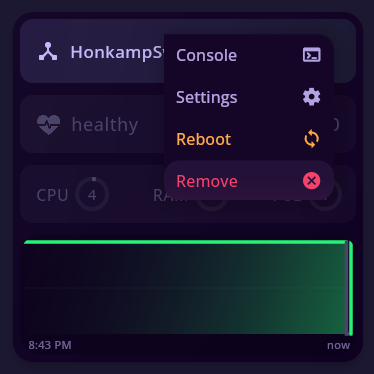
- Right-click anywhere on the device card
- Click “Remove”
You’ll be prompted to ensure you want to remove the device.
Summary
Section titled “Summary”- Devices must be prepared before onboarding
- A single service account is used for both REST and SSH
- Adding a device is handled entirely through the dashboard
- Devices connect asynchronously after being added
- Removal is performed directly from the device card
This workflow keeps device management simple while allowing Portweaver to handle connection and state internally.